Prototyping and making
Research on Lamp Designs
I chose my lamp to be multifunctional. The main environments I envisioned it in are your vanity or living room. So I did some research on the most loved living room and bedside lamp designs, and what makes them special.
One of the first things to think about before creating a design is the rise of anti-big-light in the current generation. We don't want to feel like we are in a surgical operating room or sitting in a dentist's chair. White lights are also not very pleasing to look at. People prefer warmer lights that are easy on the eyes.
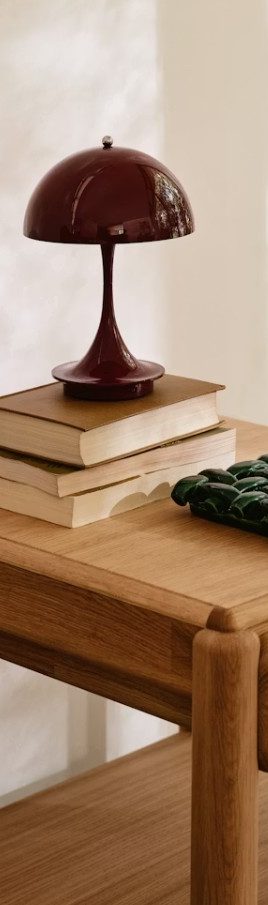
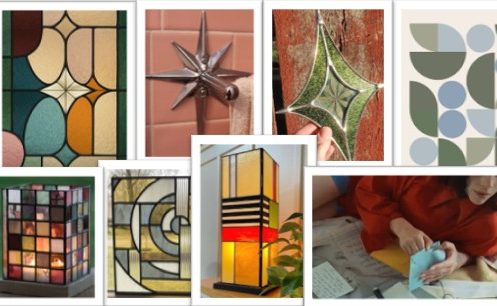
I took a look at some of the trending bedside lamps featured in an article on Architectural Digest and noticed that almost all the designs in their list centered on a geometric shape that made up most of their body. Some of the lamps, such as Flowerpot V9 Rechargeable LED Table Lamp, Flos Bellhop Rechargeable LED Table Lamp, and the Louis Poulsen Panthella Portable Lamp, are monotone, but the colours used are bold and bright even though basic.
I also noticed how all the lamps in the list were multifunctional as well, meaning they could be set up in any space.
Personally, most of the lamps did not excite me; they were too bland, focused too much on materialism rather than on how they make the user feel.
Inspiration behind the design
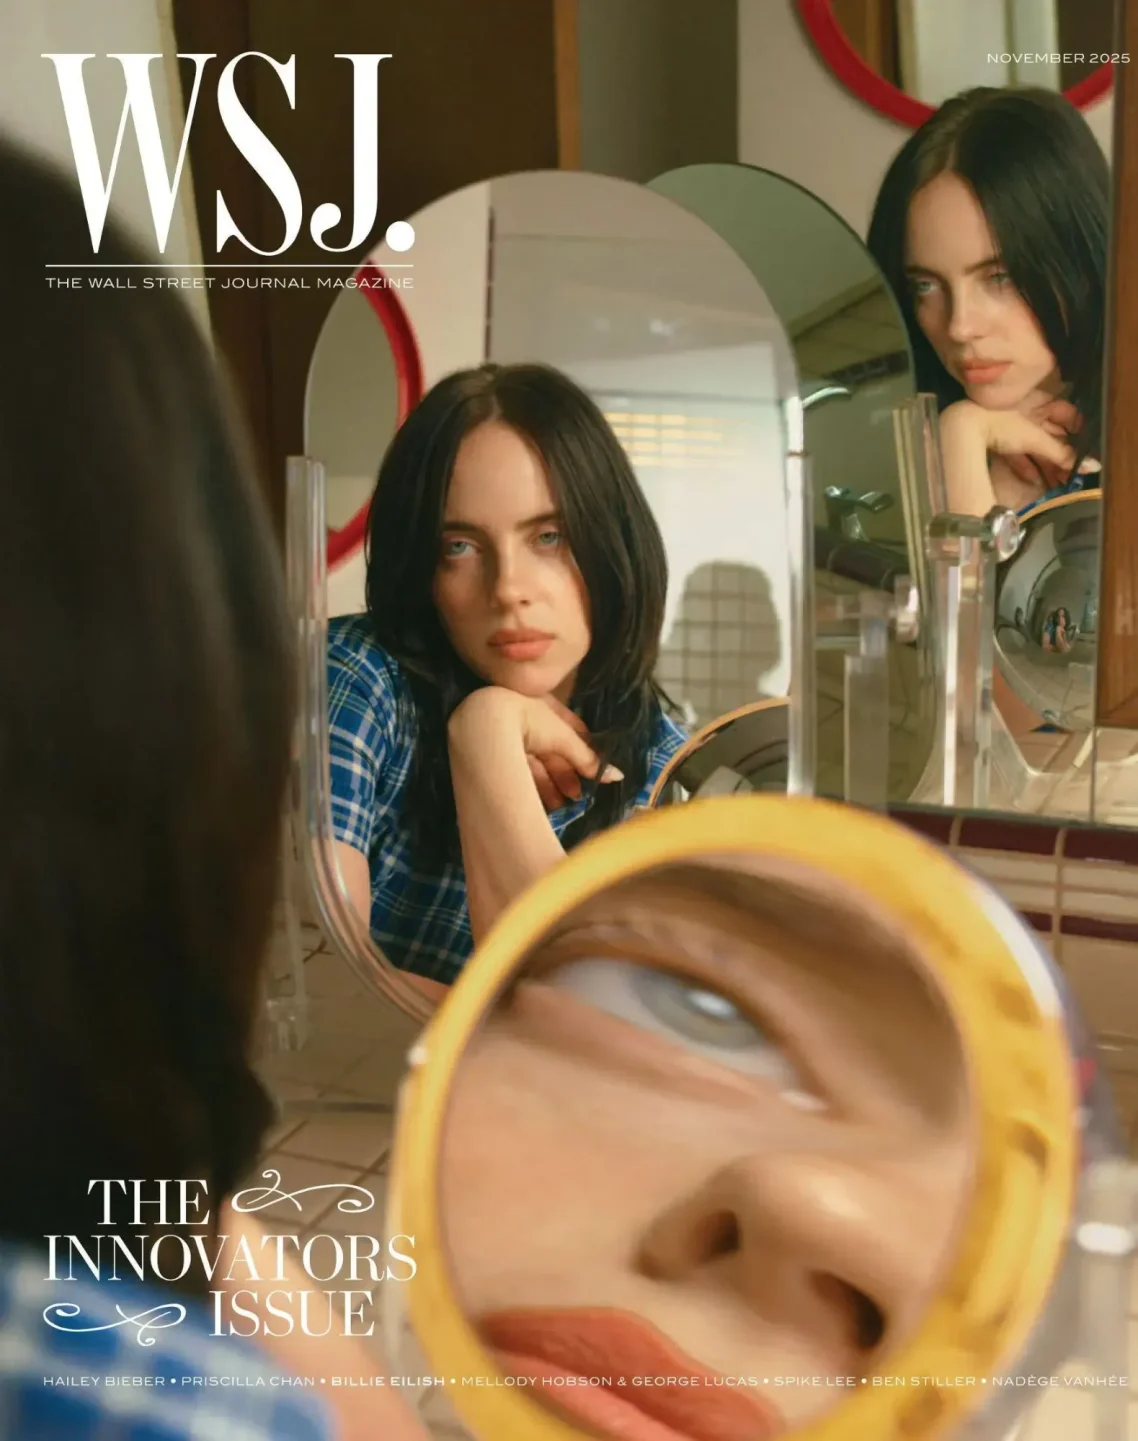
I like to take a lot my inspiration from today’s artists and the media I consume. The inspiration for this specific project came from the recent innovators issue of the Wall Street Journal magazine that had Billie Eilish shot by the photographer Alex Prager. His photos from this issue helped me imagine the kind of environment I would like to design my lamp for as well.
With minimalism on the rise we must create something that will stand out but also fit in with the current market but, as Gen Z grows into adulthood they crave nostalgia. Nostalgia comes from colours, scents, touch and sounds. In this project being inspired by the WSJ magazine issue, I used colour as my superpower, carefully choosing colours that were basic but bright.
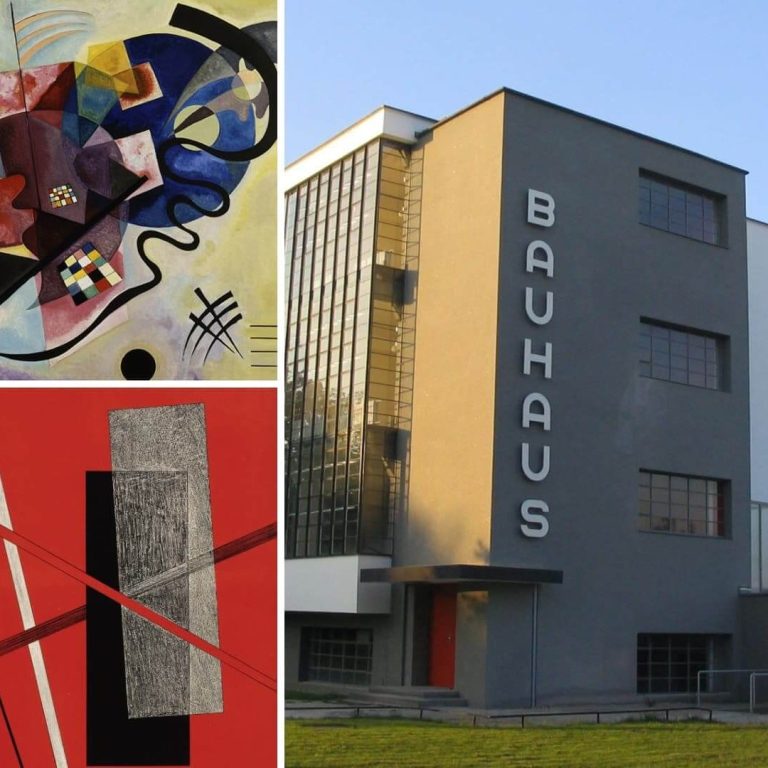
A lot of my colours and shapes were inspired by the Bauhaus Art Style. What is Bauhaus? The Bauhaus is a German artistic movement which lasted from 1919-1933. Its goal was to merge all artistic mediums into one unified approach, that of combining an individual’s artistry with mass production and function. Bauhaus design is often abstract, angular, and geometric, with little ornamentation.
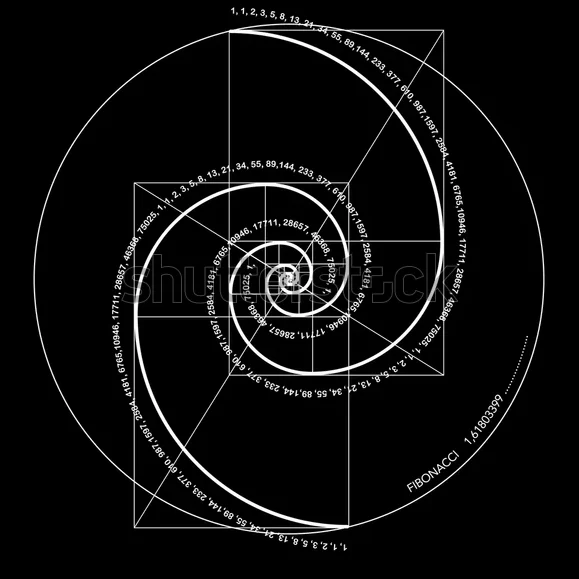
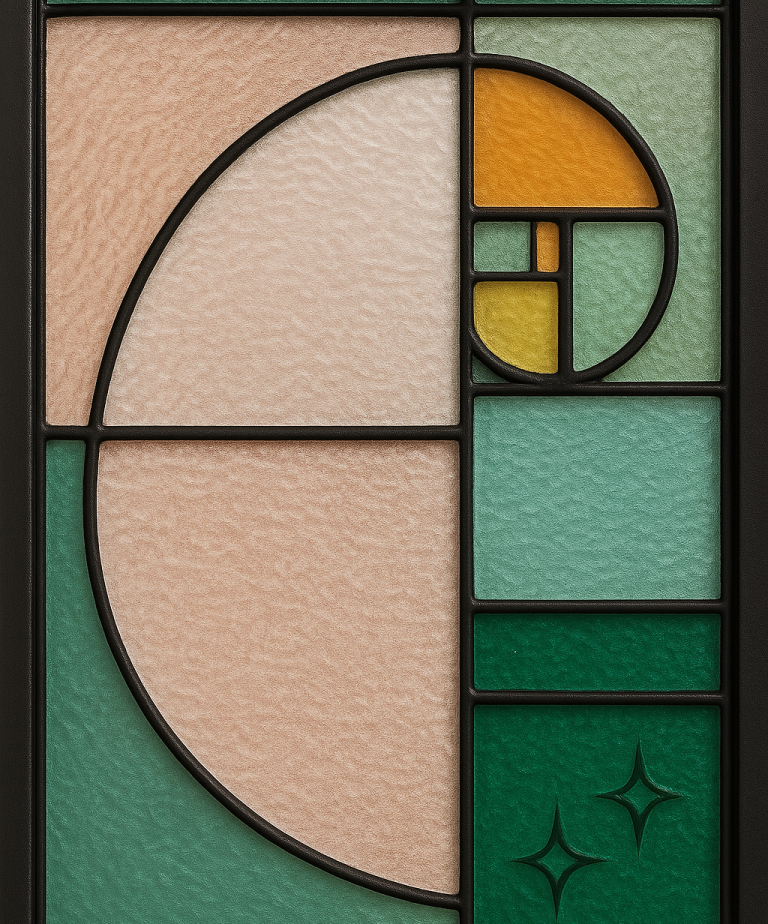
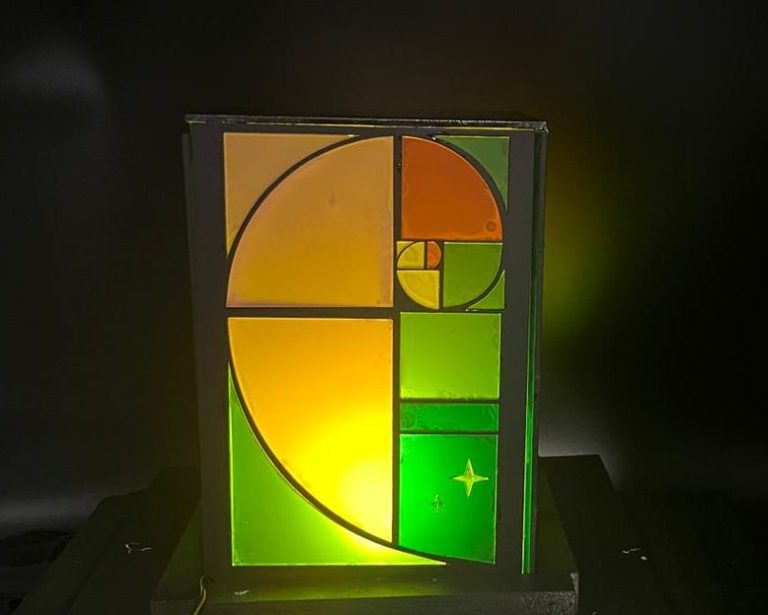
As an engineer in training, I have the habit of paying attention to detail. As much as I despise math, it's truly found in everything we touch and see, similarly, when we pay attention to structures around us like architecture, you will find the Fibonacci’s spiral in almost everything.
The idea behind using Fibonacci’s spiral as one of the designs comes from being inspired by the angular and geometric designs in the Bauhaus art style.
Design Process
Here are some behind the scenes and details of the design process from start to finish
1. Mood Board
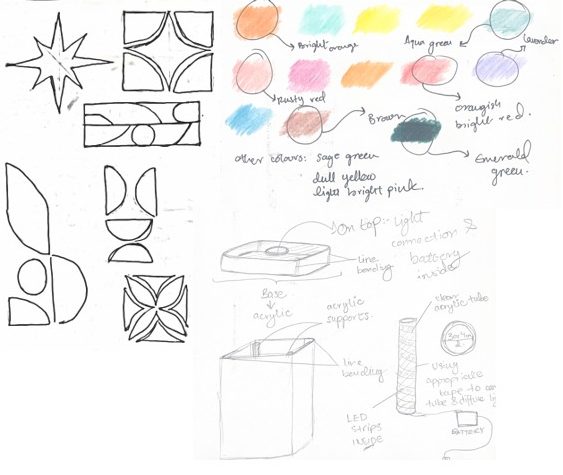
Pinterest is a designers best friend. To help me get started with my designs I made a small mood board so that it is easy to visualise the kind of colour palette, shapes and patterns I would want
Link to Pinterest Board:
2. Ideation sketches
I then started creating shapes for my design using inspiration from the mood board. The curved patterns show the Bauhaus art style. I used different colours to create a colour palette that I can eventually use to pick out colours for the acrylics used.
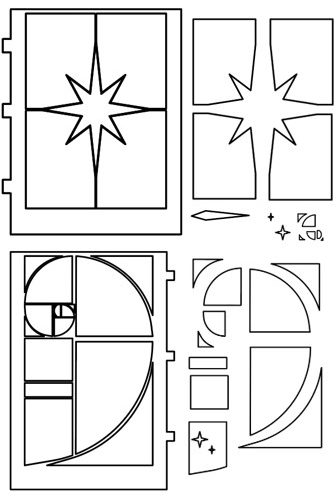
3. CAD Drawings
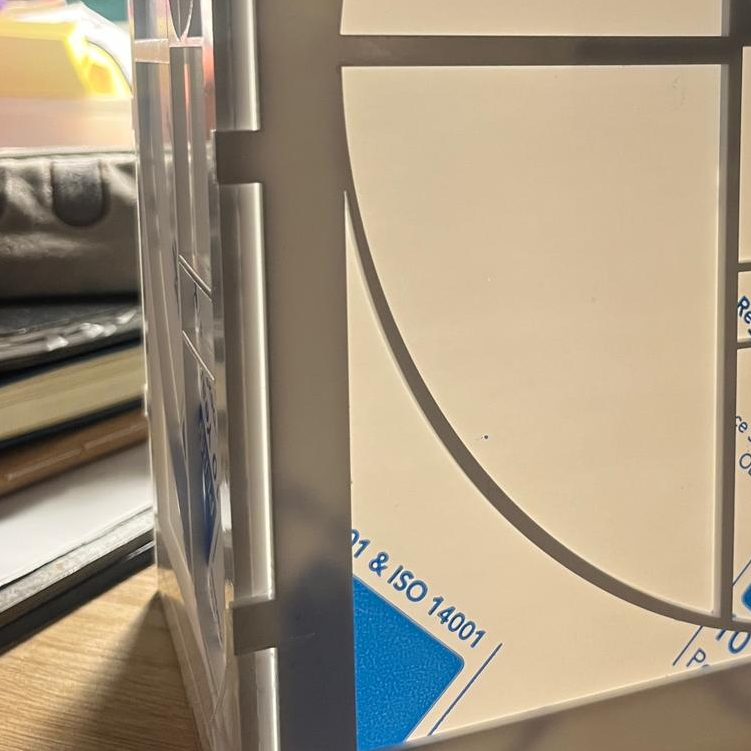
The final design draft was then created on Fusion 360. This is an image of the 2D drawings, as this is how the user would be viewing each panel from each side.
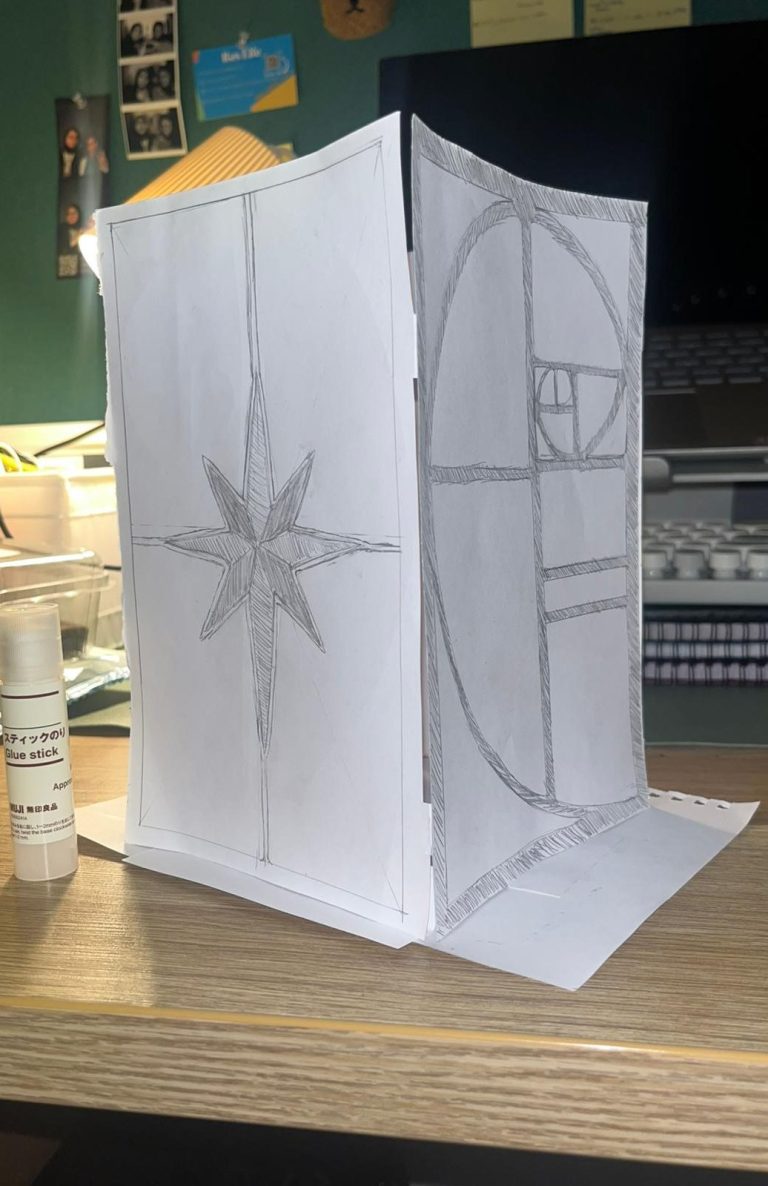
4. The very first prototype
The easiest way to imagine how the final product will look like in real life is by creating a stationary prototype which means a non functional model. I made mine out of paper as it is easiest to work with especially if your models have bents and are going to be glued together in the end.
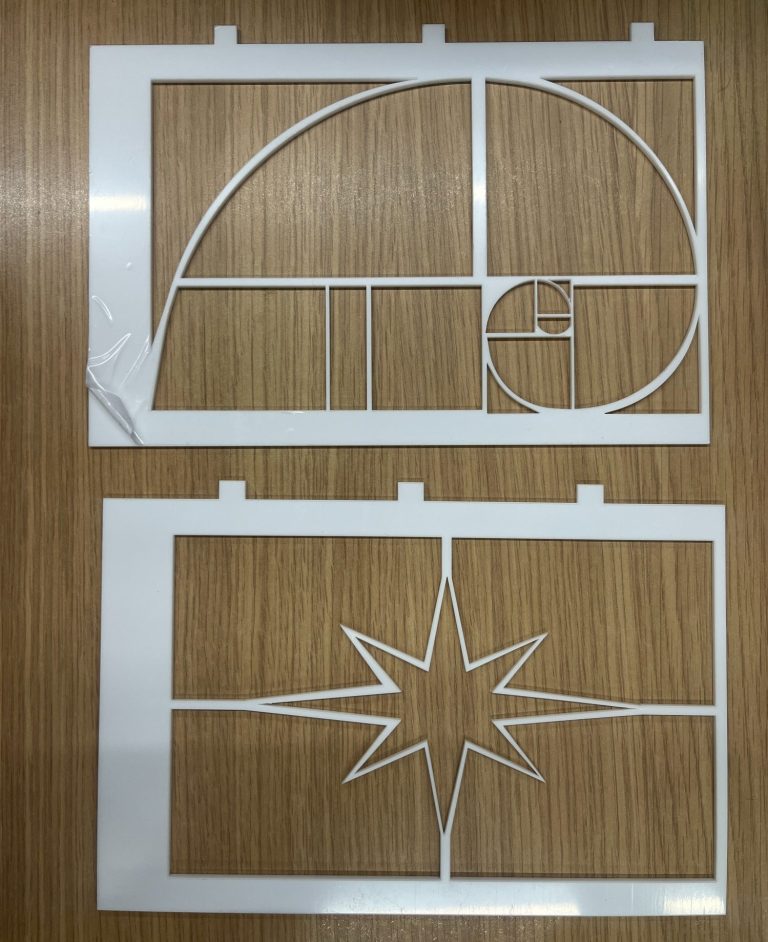
5. Laser cutting the frame
I used 3mm white opaque acrylic to cut out 2 of each frame using the laser cutter.
I removed some very small, intricate parts around the smaller curves in the Fibonacci spiral panel, as the lines around them were very thin and caused the acrylic to melt when laser cut.
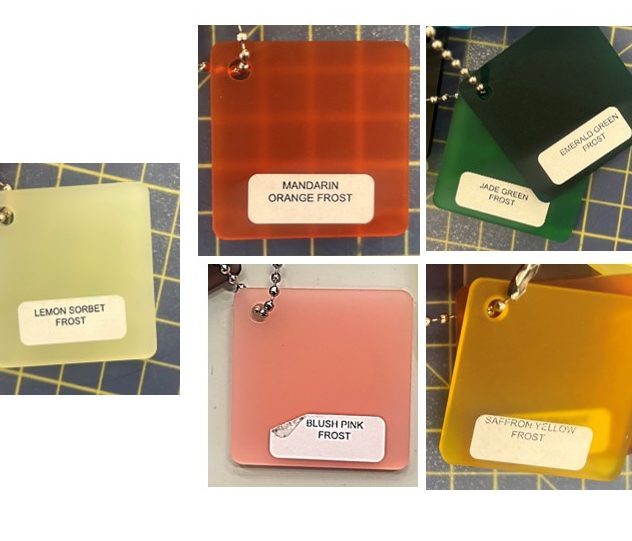
6. Choosing the right colours
This is the part of the process which took me by far the longest. It was very difficult to choose colours that go well with each other and fit in with my chosen theme and aesthetic.
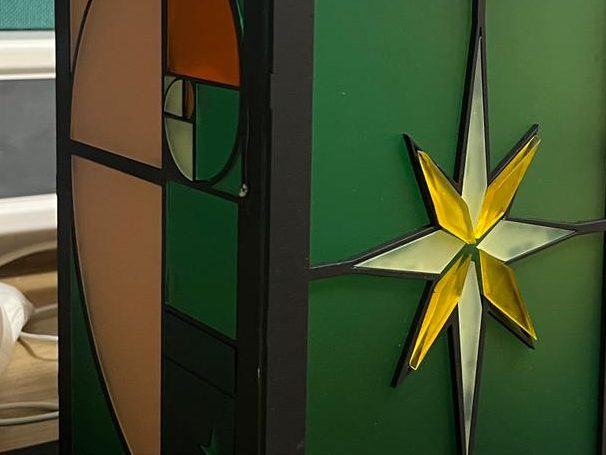
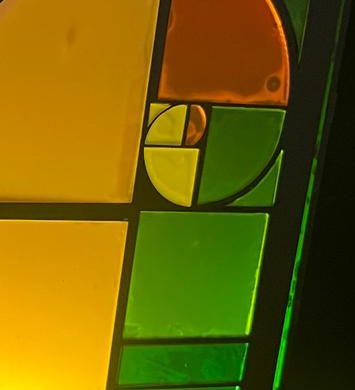
I chose a combination of different coloured frosted acrylic as it mimics the look of stained glass the most compared to others.
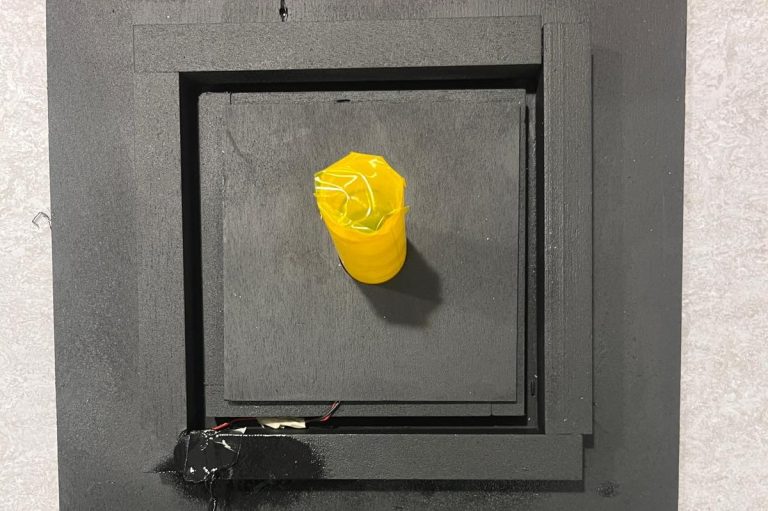
7.Light diffusion
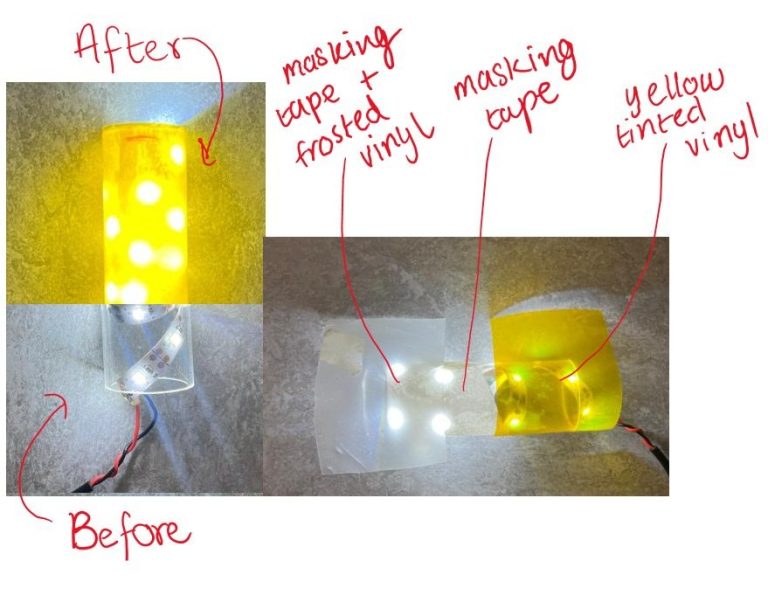
We were given a white LED strip to work with when creating this project, which I placed into a 87.2mm long clear acrylic cylindrical tube. As researched before, we do not like bright white lights. So how do we fix that? We diffuse them and use a colour filter. First, I soldered the light strip with the USB connection to see if it works and how bright it actually is. Then, I used two different materials, Masking tape and Frosted Vinyl, to see how well each diffuses the bright LEDs. They seemed to diffuse the best when aligned on top of each other. I then used a clear yellow tint on top to give a warmer light effect.
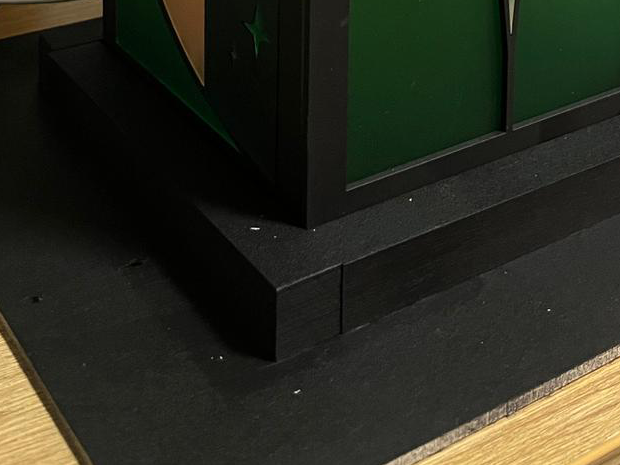
8. Woodwork for the base
I wanted to create a lamp that can be disassembled easily, so I designed a functional base with a layout in which all the panels can be slid out while staying intact, just like a regular lamp shade. To make that, I used some wooden square rods and cut them up to create squares of two different sizes with a cap of 6mm so that the panels can fit in. For the light rod, I laser cut an acrylic sheet about 5mm thick that would hold the rod in place. I also cut some spaces for the wire to pass through.
I specifically used wood for the base because I wanted to give a more textured look, similar to that if it was made out of a textured metal.
9. Painting
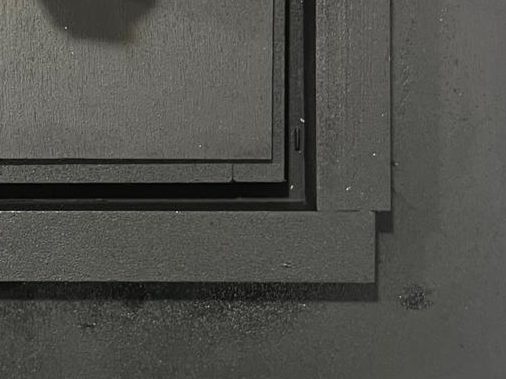
I used Black spray paint to colour both the panels, the top, and the base.
Before painting the base, I sanded the wooden square-shaped rods, and then I glued them to a thick wooden sheet using wood glue, and let it dry.
10. Filling in the panels
To decide a sequence for the panels, I used generative AI, where I inserted my own drawings and asked it to look realistic.
I glued a sheet of clear acrylic behind the panels and then glued each piece of my coloured acrylic on it. Almost like gluing puzzle pieces together. You'll notice in the final product that some of the pieces in the panels do not fit in perfectly; that was done on purpose. it is the little imperfections like this that make art human and raw. I wanted my lamp to look like art rather than something mass-produced. It makes it a more valuable product.
image courtesy: Chat GPT
11. Putting together the lampshade
I used acrylic glue to attach the panels upside down together on top of a square acrylic as the top, making sure the star panels faced each other and the Fibonacci spiral panels faced each other. Then once dried, I slid the lampshade into the base.
Instead of cutting out an opening for the wires in my base and panels, I got rid of the thick black covering and soldered the wire to make it longer, and carefully used masking tape for protection, attaching it to the base border.
Some behind the scenes
Inside of the lamp without panels
Finished lamp shade

me worrying if i would finish this project on time (update: I did!)
Woodwork and acrylic cutting
Laser cutting
Some problems I had to face:
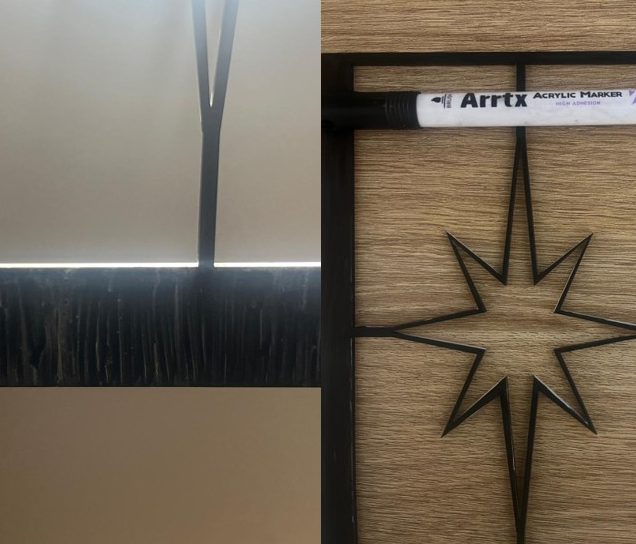
Finding the right medium to colour the panels
I wanted to have a matte but natural look for the panels, so I tested out using Acrylic markers. Although it looked really nice and gave it some natural pattern to it, it didn't make the panels opaque, and light still passed through the acrylic material. I ended up using matte spray paint, which gave it a really nice smooth finish.
The hinges were too small
Initially, my design for the panels had hinges, which would be used to hold the edges of each panel by folding them using line bending. Due to an issue in the fusion CAD drawing, they were too small and would not bend all the way. So I had to get rid of them, sand the edges, and paint over.
The panel broke!
I had taped the panels together while cutting the hinges. As I was taking off the tape, a part of the star panel broke. I did panic initially as I didn't have any backup panels, but it was easily fixed with acrylic glue by attaching it back together.
lesson learnt, though, create backup pieces next time.
Glue became cloudy and was visible
Since I didn't glue on top of a ventilated station due to some rules in the university workshop, the fumes from the superglue caused the glue to seep and spread away from the corners, making it visible when the light inside it turned on. For my final product photos, I fixed this with Photoshop to make it look more professional.